Article Number: 000191997
Turn Clutter On or Off in Outlook
Summary: Information about setting up Clutter in Microsoft Outlook.
Article Content
Instructions
Turn Clutter Off
 for more
Turn off Clutter in Outlook 2016:
- In Outlook 2016, right-click the Clutter folder and the select Manage Clutter. (If you don't see the Manage Clutter option, Clutter may have been disabled for your organization or you may be using Focused Inbox now. See the next section for more options .)
- Sign in to Outlook on the web using your work or school account. For help, see Sign in to Outlook on the web . This will take you directly to the Clutter options page.
- Either uncheck the box Separate items identified as clutter or select the option, Don't separate items identified as Clutter depending on which option you see on the Clutter options page (Figure 1 and 2).
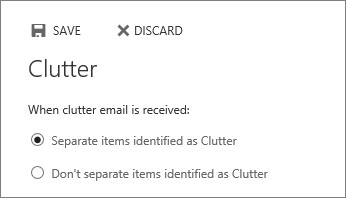
Figure 1
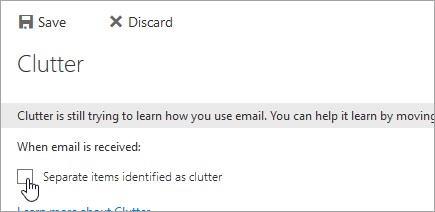
Figure 2 - Click Save to turn off Clutter.
The Clutter folder remains in Outlook even after you turn off the feature.
Turn off Clutter in Outlook on the web:
- Sign in to Outlook on the web . For help, see Sign in to Outlook on the web .
- At the top of the page, select the App launcher
 > Outlook (Figure 3).

Figure 3 - At the top of the page, select Settings
 , and under Your app settings, select Mail.
 - Under Automatic processing, select Clutter (Figure 4).
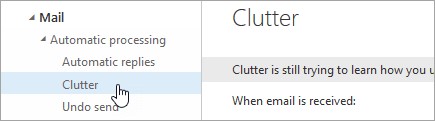
Figure 4 - Either uncheck the box Separate items identified as clutter or select the option, Don't separate items identified as Clutter depending on which option you see on the Clutter options page (Figure 5 and 6).

Figure 5

Figure 6 - Click Save to turn off Clutter.
The Clutter folder remains in Outlook even after you turn off the feature.
Turn Clutter On
for instructions to re-enable Clutter. If Focused Inbox is enabled for your organization, Clutter won't work. If you'd prefer to use Clutter over Focused Inbox, use the following steps.
Steps to turn on Clutter:
- Sign in to Outlook on the web . For help, see Sign in to Outlook on the web .
- At the top of the page, select the App launcher
 > Outlook (Figure 7).
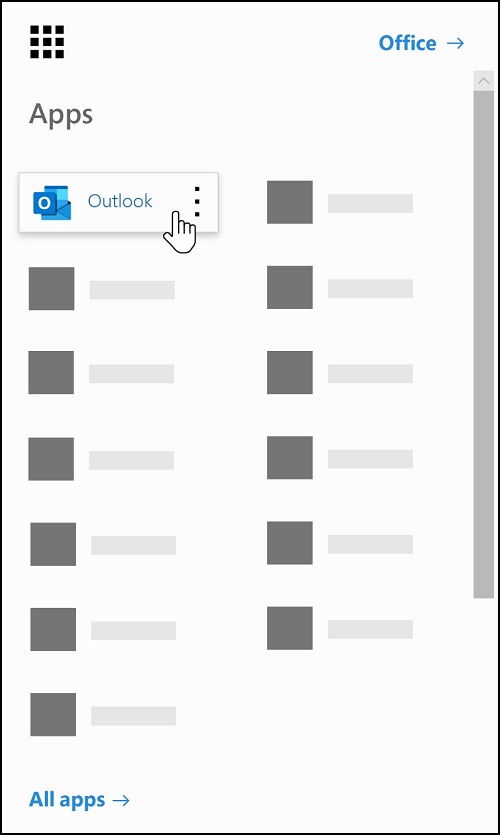
Figure 7 - At the top of the page, select Settings
 , and under Your app settings, select Mail > Layout > Focused Inbox. Choose Don't sort messages.
 - Refresh your browser.
- On the navigation bar, return to Settings
 and the Clutter options should now be available: Settings
  > Mail > Automatic processing > Clutter.
 - Choose Separate items identified as Clutter > Save.
Set-Clutter
Module: ExchangePowerShell
Applies to: Exchange Online
This cmdlet is available only in the cloud-based service.
Use the Set-Clutter cmdlet to configure Clutter settings for mailboxes in your organization. Note: We recommend that you use the Exchange Online PowerShell V2 module to connect to Exchange Online PowerShell. For instructions, see Connect to Exchange Online PowerShell .
For information about the parameter sets in the Syntax section below, see Exchange cmdlet syntax .
Syntax
Figure 8
Description
You need to be assigned permissions before you can run this cmdlet. Although this topic lists all parameters for the cmdlet, you may not have access to some parameters if they're not included in the permissions assigned to you. To find the permissions required to run any cmdlet or parameter in your organization, see Find the permissions required to run any Exchange cmdlet .
Example
Figure 9
Parameters
-Enable
The Enable parameter specifies whether to enable or disable Clutter for the mailbox. Valid values are (Figure 10):
- $true: Clutter is enabled for the mailbox. This is the default value.
- $false: Clutter is disabled for the mailbox.

Figure 10
-Identity
The Identity parameter specifies the mailbox that you want to modify. You can use any value that uniquely identifies the mailbox. For example (Figure 11):
- Name
- Alias
- Distinguished name (DN)
- Canonical DN
- Domain\Username
- Email address
- GUID
- LegacyExchangeDN
- SamAccountName
- User ID or user principal name (UPN)
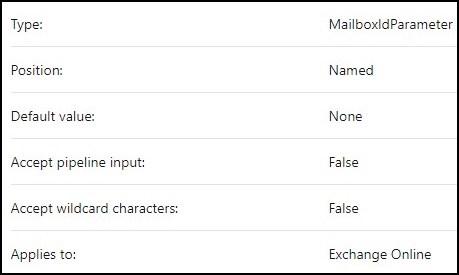
Figure 11
Resources:
Article Properties
Affected Product
Microsoft 365 from Dell
Last Published Date
23 Jan 2024
Version
2
Article Type
How To