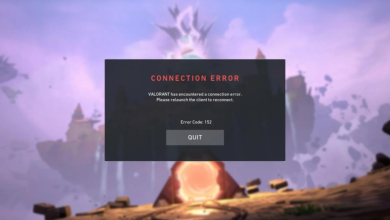
How to Fix GTA V Social Club Failed to Initialize (Error Code 17)?
Some GTA V players are reporting that they end up seeing the Social Club Failed to Initialize (Error Code 17) every time they attempt to launch the game on their PC. Most affected users are saying that the crash occurs several seconds after the game attempt to into fullscreen.

As it turns out, the majority of instances where this issue was reported ended up being caused by a local glitch originating from the local settings profile. If this scenario is applicable, you should be able to fix the issue by resetting the entire game folder by renaming a couple of files with the .old extension.
Also, you need to ensure that Social Group is opening with admin access and that you have the correct date and time (Social Club is very picky about this). And if you have Social Club and GTA V installed on different hard drives, you need to make some Registry adjustments.
However, if you’re using AVG, ESET, or another overprotective AV suite, the issue can also occur because the main Social Club executable is preventing from communicating with the Rockstar server. in this case, you can either whitelist the problematic executable or you can uninstall the 3rd party AV suite entirely.
In case you’re launching the game through Steam, check to see if your in-game name contains any special characters. Social Club is known for causing this error if the name contains any special characters like ‘#$%~’. Fortunately, you can Edit your Steam profile easily and remove any special characters that might end up crashing GTA V.
If you’re still using Windows 7, ensure that Sevice Pack 1 is installed (the game will not work unless you have the platform update installed.
Resetting the Game’s settings
In case the Error Code 17 occurs due to a failure in loading the Social Club application originating from a local glitch, you should be able to fix the issue by resetting the entire collection of GTA V game settings.
Although the majority of affected users have confirmed that this operation ended up fixing the issue, keep in mind that this will end up rolling back all player settings to the default values. This includes any custom settings for Graphics, Sound, Controls, and even Story Mode Cloud Save settings.
If you are prepared to go this route, follow the instructions below to reset your GTAV game settings and resolve the Social Club Failed to Initialize (Error Code 17):
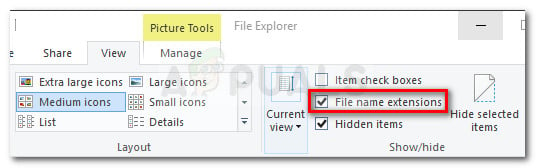
- Open File Explorer, go to the ribbon bar at the top and click on View and check on the box associated with File Name Extensions.
- Navigate to the following location to land directly into the GTA V folder:
C:\Users\~USERNAME~\Documents\Rockstar Games\GTAV
- Once you arrive at the correct location, right-click on settings.xml and choose Rename from the newly appeared context menu.

Renaming the Settings file - Next, rename the .XML extension associated with settings to .old and hit Enter to save the change. At the confirmation window, click Yes to confirm the operation.
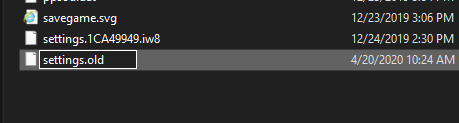
Renaming the settting.XML extension Note: This operation will force the game to ignore this file and create a new equivalent from scratch.
- Once you successfully managed to change the extension, navigate to the profile folder of your game:
C:\Users\~USERNAME~\Documents\Rockstar Games\GTAV\Profiles\~PROFILEFOLDER~
- After you manage to land in the correct location, right-click on cfg.dat and choose Rename from the context menu. The same as before, rename the file with the .old extension to force the game to ignore the settings.
- Repeat the same thing with pc_settings.bin (rename to pc_settings.old), then restart your computer and launch GTAV once the next startup is complete.
See if you’re still encountering the Social Club Failed to Initialize (Error Code 17) and if you are, move down to the next method below.
Whitelisting Social Club in AV Suite (if applicable)
In case you’re using a 3rd party security suite on the computer where you’re encountering the Social Club Failed to Initialize (Error Code 17) issue, you should investigate whether or not your AV is overreacting.
As it turns out, some affected users are reporting that in their case, the 3rd party suite ended up blocking the communications between Social Club and the Rockstar game’s server, which ended up preventing the game from launching.
In most cases, this problem is reported to occur with AVG antivirus. If this scenario is applicable, you should be able to fix the issue by creating an exception in your AV settings excepting the main Social Club executable from any type of AV scans.
A more radical solution is to simply uninstall the overprotective 3rd party suite and use Windows Defender or a more lenient 3rd party suite.
In case you want to keep your current AV suite, go to your AV settings and whitelist the following locations:
C:\Program Files\Rockstar Games\Social Club
C:\Program Files (x86)\Rockstar Games\Social Club
Note: The steps of doing so will be different depending on the 3rd party suite that you’re using.
In case you don’t know how to whitelist locations in your AV settings or you simply want to go the easy route, follow the instructions below to uninstall your AV suite completely and eliminate any interference with the Social Club executable:
- Press Windows key + R to open up a Run dialog box. Next, type ‘appwiz.cpl’ inside the text box and press Enter to open up the Programs and Features screen.
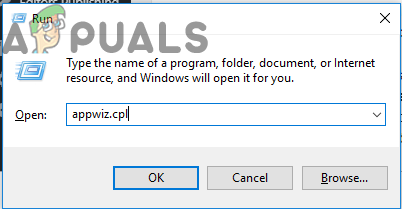
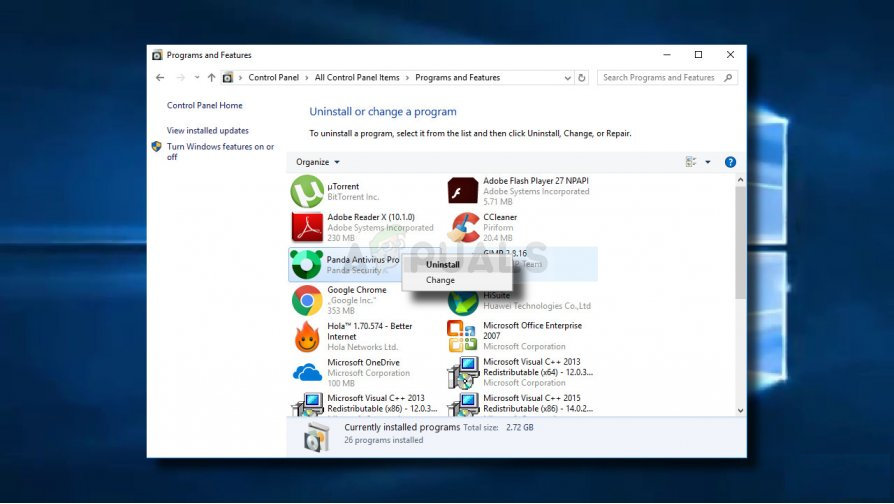
Typing in “appwiz.cpl” in the Run prompt - Once you’re inside the Programs and Features screen, move down to the right-hand section and locate the 3rd party AV suite that you’re trying to uninstall.
- When you see it, right-click on it and choose Uninstall from the newly appeared context menu.
Uninstalling your antivirus - Inside the uninstallation screen, follow the on-screen prompts to complete the process, then restart your computer if you’re not prompted to do so automatically.
- At the next startup, attempt to launch GTA V again and see if you’re still seeing the same Social Club Failed to Initialize (Error Code 17) error.
In case the same problem is persisting, move down to the next potential fix below.
Changing Steam Profile name (if applicable)
As it turns out, if you’re trying to launch the game through Steam, one other reason that might end up causing this problem is an inconsistency with your Steam name. For some weird reason, Social Club is known to cause the Social Club Failed to Initialize (Error Code 17) error if the Steam account contains special characters.
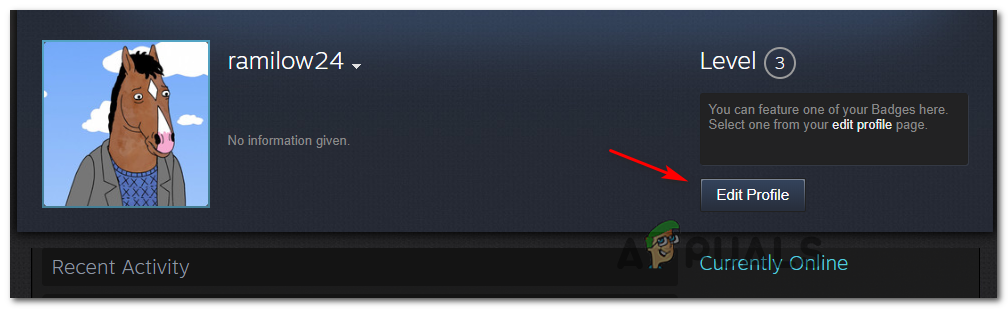
A lot of affected users have confirmed that the problem was fixed and the game no longer crashed after they accessed their Steam settings and cleaned any special characters from their Steam name. Changing the Steam profile name can be done directly from your Profile section by clicking on Edit Profile.
After you manage to clean any special characters from your Steam name, restart the game and see if you’re able to boot normally.
Running Social Club with Admin Access
One other potential problem that might cause this GTA V error is a failure to call upon the Social Club component (subprocess.exe). In the vast majority of reported cases, this problem will end up occurring because Social Club doesn’t have the right to open with admin access (which it needs).
If this scenario is applicable, you will be able to fix the issue by accessing the Social Club folder (typically located in Program Files x86 folder) and open subprocess.exe with admin access before actually launching the game.
Try this fix out by following the instructions below and see if it manages to fix the issue in your particular scenario:
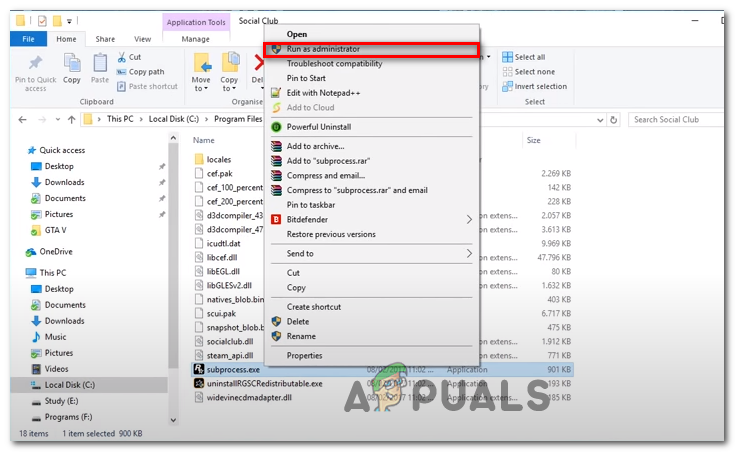
- Open File Explorer and navigate to the following location:
C:\ Program Files (x86) \ Rockstar Games \ Social Club
- Once you arrive at the correct location, right-click on subprocess.exe and choose Run as Administrator from the newly appeared context menu.
Running Social Club with admin access - Open GTA V and see if the game can launch normally without the Social Club Failed to Initialize (Error Code 17) error.
- In case this operation was successful, you will need to repeat this process before every game startup. Additionally, you can force admin access on the executable by right-clicking on Properties > Compatibility tab and checking the box associated with Run this program as administrator before clicking Apply.
In case this potential fix didn’t work for you, move down to the next potential fix below.
Setting the Correct Time & Date (if applicable)
As it turns out, another fairly popular reason that will end up breaking the launching sequence of GTA V on PC is a severely outdated date & time. The Social Club launcher runs a background check to see if the date & time of the server matches the end user’s date & time. If the two don’t match, you might expect to see the Social Club Failed to Initialize (Error Code 17) error.
In case this scenario is applicable, follow the instructions below to ensure that your date & time are not severely outdated:
Note: In case you keep modifying your date & time to the correct values but you notice that they keep reverting, consider replacing the CMOS battery on your motherboard.
- Press Windows key + R to open up a Run dialog box. Next, type ‘timetable.cpl‘ and press Enter to open up the Date & time window.
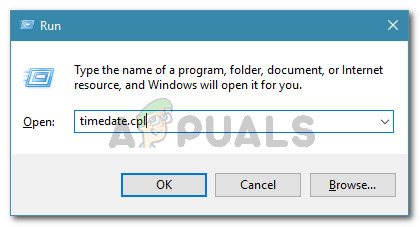
Opening the Date and time window - Once you manage to access the Date & time window, select the Date & Time tab, then click on Change date & Time. When you see the UAC (User Account Control), click Yes to grant administrative access.
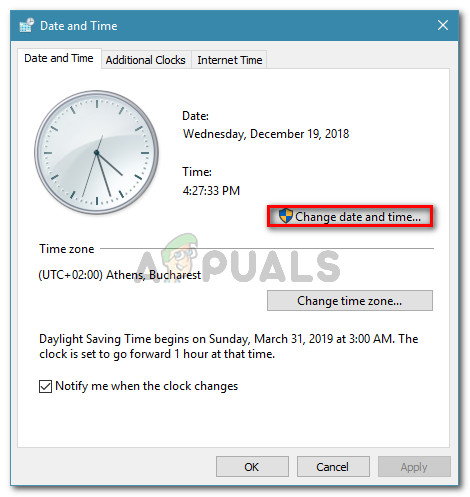
Setting the correct date and time - At the next screen, use the calendar to set the appropriate date, then set the time according to your current timezone and click Ok to save the changes.
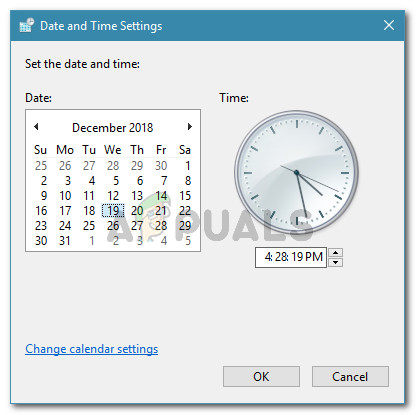
Modifying Time & date - After the date & time is successfully adjusted, restart your computer and attempt to launch the game once the next startup is complete.
In case the same error message is still occurring, move down to the next potential fix below.
Installing Service Pack 1 (Windows 7 Only)
As confirmed by a lot of affected users, GTA V needs the Service pack 1 update to be able to run on Windows 7. If you’re using Windows 7, you will need to ensure that your operating system is updated with the latest support level.
If this scenario is applicable, follow the instructions below to install the latest platform update for Windows 7 and see if this ends up fixing the issue for you:
- Visit this link (here) from your default browser. Once inside, scroll down to Platform Update for Windows 7, select a language for the installer and click on the Download button to start the process.

Downloading the platform update - At the next window, check the box associated with your OS architecture – For 32-bit, download Windows6.1-KB2670838-x86.msu.
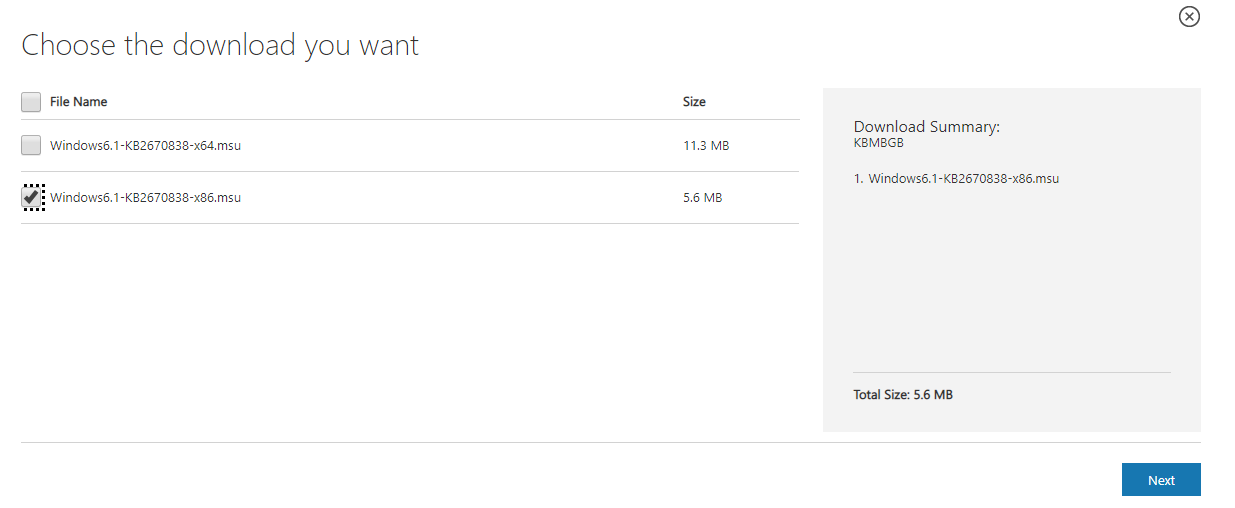
Downloading the appropriate platform update version Note: If you’re not sure which OS architecture you have, right-click on My Computer, choose Properties, then check the System Type to view your system architecture.
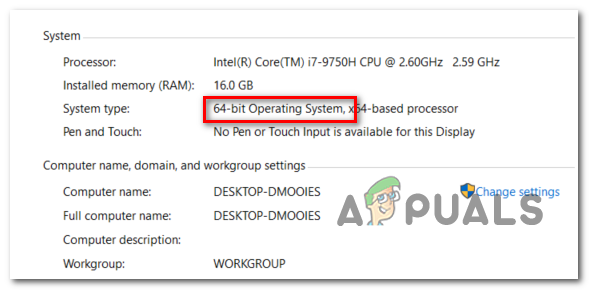
Verifying your OS architecture - After the download is complete, double-click on the installer and follow the on-screen instructions to complete the installation of the platform update.
- Once the installation is complete, reboot your computer and see if the issue is resolved at the next system startup.
Using Registry Editor to Change the ProgramFilesDir
In case you have Social Club and the main GTA V game installed on different hard drives, you might expect to see the Social Club Failed to Initialize (Error Code 17) error because a registry key is making it hard for the main GTAV executable to call upon the social club component.
If you only play single-player and you don’t care about any Social Club feature, you can fix this issue (without installing both GTA V and social club on the same hard drive) by modifying the path in ProgramFilesDir to the game installation.
Follow the instruction below to perform this modification with Registry Editor:
- Press Windows key + R to open up a Run dialog box. Next, type ‘regedit’ inside the text box and press Enter to open up the Registry Editor.
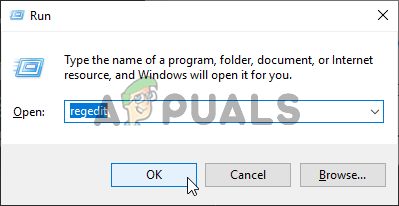
Opening the Registry Editor Note: Once you’re prompted by the UAC (User Account Control), click Yes to grant administrative privileges.
- Once you’re inside Registry Editor, use the left-hand section to navigate to the following location:
HKEY_LOCAL_MACHINE \ SOFTWARE \ Microsoft \ Windows \ CurrentVersion
Note: You can either get there manually or you can paste the location directly into the navigation bar at the top to get there instantly.
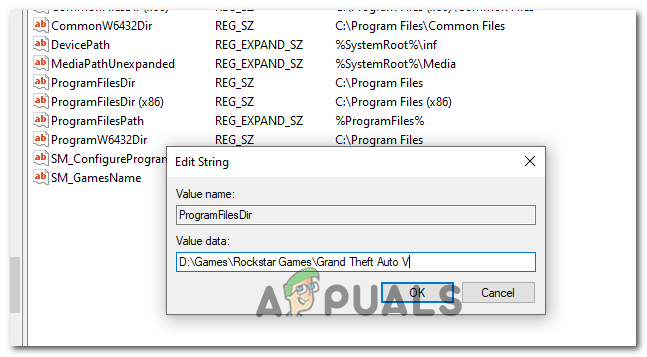
- After you arrive at the correct location, move over to the right-hand section, and double-click on the ProgramFilesDir value.
- Replace the current value of ProgramFilesDir with the exact location of your GTA V installation. By default, that location should be D:\Games\Rockstar Games\Grand Theft Auto V.
Changing the default location of ProgramFilesDir - Exit the Registry Editor utility and launch the game to see if this method has been succesfull.