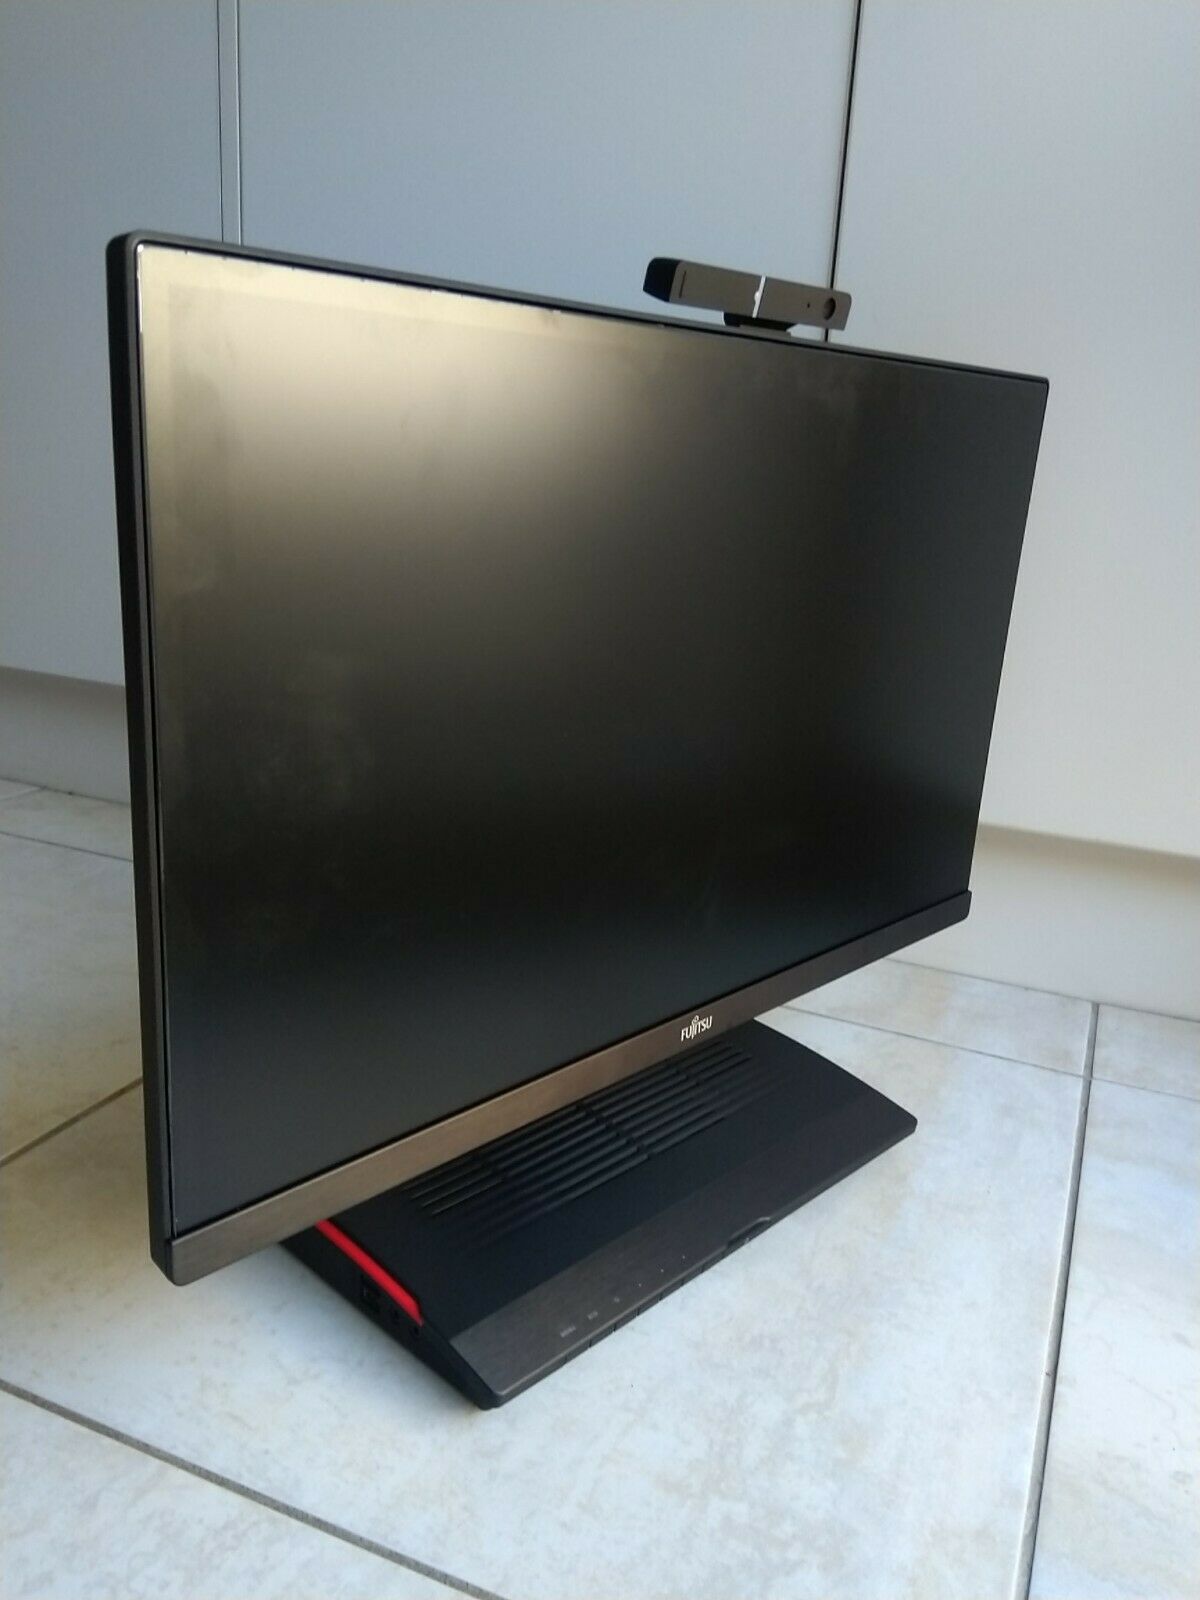
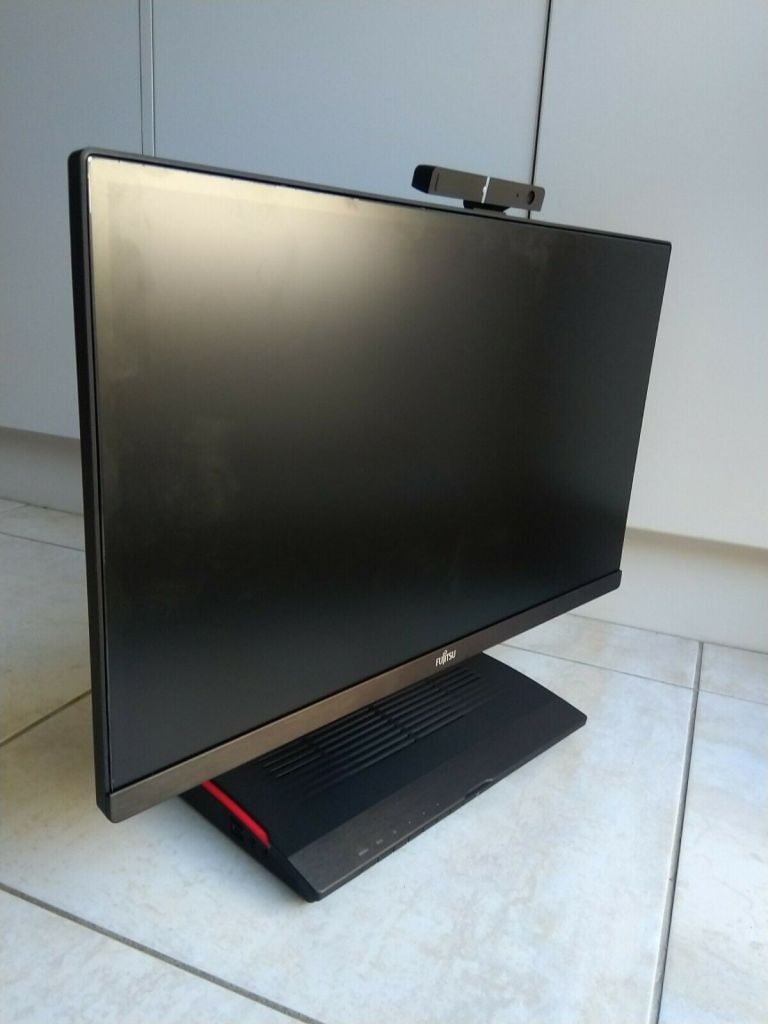
Fujitsu Futro X913-T thin client with integrated screen — kind of old but useful.
I am installing Debian on a USB stick that will be permanently attached to a thin client. It will provide the OS of the client. The Futro has only 1 GB of inboard storage…
- Booted the Debian installer (I used USB CDROM drive I happen to have, but you could boot from a USB stick).
- Partitioning: partitioned a 16 GB usb stick (sdb) with 3GB swap (the machine has 2GB RAM, so this should allow hibernation, writing the RAM to swap space), the rest as / (root) except I left a few 10s of MB at the
front of the drive free. This just seems like a good idea when you want to write a bootable USB.
- Went through install as per normal, installed GRUB to sdb (sda is the built-in 1GB mSATA drive of the client. it is too small to install Debian on, but currently has SliTaz on it, which the Debian install of GRUB found, making the Futro dual-boot.)
- Installed nothing beyond the minimum — unchecked everything when it asked me what software I wanted to install.
- Modified BIOS settings to boot sdb by default. Since GRUB found SliTaz, I can boot either Debian ot SliTaz from GRUB.
A bare install of Debian — that is, I used the default installer, nothing clever, but unchecked everything when it asked me what I wanted to install — I still fill up nearly 800 MB of disk space. Fat! Then I went to install a display/login manager.
$ apt install NAME
Here are the download sizes, keeping in mind that on such a bare system most of the download is dependencies, which might be needed later anyway.
- gdm3: 342 MB
- sddm 105 MB
- lightdm 96 MB
- xdm 36 MB
- wdm 101 MB
- slim 28 MB
So slim it is!
Then flwm and links and xinit and x11-apps.
between xinit, flwm and slim, Debian pulls in all the deps needed to get a fairly basic but working Xorg system up and running.
Can login to a regular user account and try
$ startx
Can also reboot and see if the graphical login happens.
startx works, but I get very low resolution screen.
And we are already at 1.1 GB of disk space. Used…
OK, install hwinfo.
hwinfo says video card is Model: “ATI Wrestler [Radeon HD 6250]”
Maybe this is not installed?
# apt search radeon
shows most of it is installed but not all…
# apt install firmware-amd-graphics
This updates the initrd, so we reboot. Yes, and now we have full resolution. Good.
The Futro has a touch display, which so far I have not got to work. But, on we go … bite the bullet, install the 100 MB of Firefox and dependencies. A full-on browser is kind of necessary these days, especially in a thin client, for which web apps via the browser is an important use case. With Firefox, the machine is usable standalone for more than a few tasks.
Since it is just on my home LAN, I don’t need to worry about proper remote desktop, I can just forward X11.
Install some useful local tools (eg to connect to a local printer).
vim, ssh, wget, curl, gv, xpdf, poppler-utils, xfig, cups, foomatic-db-compressed-ppds
Printer (Fuji Xerox P115w) did not work.
$ vim /var/log/cups/error_log
OK, need to install: hpijs-ppds printer-driver-hpijs
OK!
Just use X11 forwarding to log into my desktop box,
$ ssh -X -C username@machine
-C means use compression — basically, gzip the traffic. This is good if you have good processors to handle the overhead of zipping, but a slow network that cannot handle a lot of traffic. If you have a fast network, which will often be the case using thin clients in a corporate environment, -C is not a good idea. It’s especially bad if your have low performance CPUs on a fast network, because the compress/decompress overhead slows things down. As always, deal with the limiting factors, not everything.)
The thin client is quite usable locally for small tasks, especially because I am not running a heavy, just flwm, which is my faviourite compromise between lightness and simplicity of use, or XFCE if I want some more features.
Sound on the Futro:
Installed mpg123, pavucontrol, alsa-utils, alsamixer
Started pulseaudo manually, sounds awful.
Added various firmware packages (not installed initially because of my minimal install); these cause initrd changes, so reboot.
Seems like all is good; mic, speakers, webcam, all fine. The firmware (eg firmware-linux*) was essential, of course, but is not picked up by the dependencies of the applications you install because it depends on the hardware, and the applications will often work a bit without it.
But now we have:
$ df -h
Filesystem Size Used Avail Use% Mounted on
/dev/sdb2 12G 2.6G 8.1G 24% /
Debian is not made to be compact. I’m sure it could be slimmed down, but why bother? Once I cannot fit into the built-in space (which, yes, I could replace with something bigger) I have kind of given up on being overly efficient, in the interests of productivity.
Probably was not worth attempting the minimal install, in retrospect.
Now, to use as intended: The basic idea is that the server or host (which I often use locally as a desktop machine) should sit there, asleep most of the time. I can wake it up to use locally of course, but I want to wake it up from elsewhere on the LAN, use it and put it back to sleep.
(1) On host, make sure that X11 forwarding, etc, is enabled in /etc/ssh/sshd_config:
X11Forwarding yes
X11DisplayOffset 10
X11UseLocalhost yes
(2) Set it up for wake on LAN (WOL).
(3) Now, I had an issue that I could not SSH in from outside unless I was logged in locally already. That is ok unless I have to reboot remotely. The problem is (apparently) that my .ssh folder is not visible to the external session.
https://help.ubuntu.com/community/SSH/OpenSSH/Keys
https://superuser.com/questions/889615/cant-ssh-into-remote-server-unless-i-login-locally-on-the-server-first
This fixes it. If the remote reboot/halt is unlikely, another option is just to log in in locally, say on VT 5 (Ctrl+Alt+F5) then run vlock and leave it forever.
(3) Now, you want to be able to make the desktop machine go back to sleep after you’re done. If you are a superuser you can use pm-suspend. Some suspends (hibernations…) seem to be immune to WOL, so do a few tests.
I don’t know about suspending the host using only user credentials. It’s not something you’d want on a multiuser network! Maybe this. But don’t hold me to it:
Run visudo and add these lines on the server/host:
username ALL=NOPASSWD: /usr/bin/systemctl suspend
username ALL=NOPASSWD: /usr/bin/systemctl hibernate
These still seem to need a user password (to send a wall message), but not sudo or root password.
(4) So now with the server pm-suspended I can sit down at my thin client and run:
$ wakeonlan aa:bb:cc:dd:ee:11
Where aa:bb:cc:dd:ee:11 is the MAC address of the server. (Run ifconfig on the server to get the details.)
(5) Then:
$ ssh -C -X username@192.168.5.55
Where 192.168.5.55 is the IP address of my server.
(6) Get my work done. If I want to basically get the MATE desktop I use locally on the server, I can type
$ mate-panel &
and then just foreground and kill it when I am done. Usually, I just run the applications I want from the CLI; (often this is a Windows VM, running in VirtualBox on my server). For example, I might type:
$ VBoxManage startvm "Win7_32bit" &
To start the VM. So, my thin client is a window on to 2 computers: mate-panel effectively gives me a Linux desktop computer, and full screening the VM gives me a Windows.
None of this is very complicated, and a few web searches soon show up the needed details, which may vary from distro to distro… Step-by-step it is:
(1) Set the server up for WOL.
(2) Set the server up for X11 forwarding.
(3) Set the server up to allow external login without a local active session (or just install vlock and login locally and lock the terminal).
(4) Install wakeonlan on the client.
(5) If the server is asleep, run wakeonlan to wake it up.
(6) SSH into the server from the client, possibly using -C compression unless your network is nice and fast.
(7) In my case, mate-panel gives me my Linux desktop (you might not use MATE).
(8) And/or I just run applications as needed.
(9) Rather than logging out, at the end I shut down all my applications and sudo pm-suspend.
(10) Close the terminal program on the client (ungracefully).
Now, you may find tools like screen and tmux handy — they let you detach from a session (or sessions) on the server, logout and then reattach later when you log back in. In that case, you would detach before suspending. You might make a custom logout script that detaches and suspends, I guess.
Bash aliases are your friend to save you remembering MAC addresses and all that. In .bashrc (or wherever), something like this on the client:
alias mywol="wakeonlan aa:bb:cc:dd:ee:11"
alias myssh="ssh -C -X username@192.168.5.55"
And on the server:
alias mysuspend='sudo pm-suspend'
alias win7='VBoxManage startvm "Win7_32bit"'
Or whatever.
Anyway, this is a simple way to use a thin client at home to allow your desktop Linux box to be in 2 places at once.
Where there’s a WOL there’s a way.

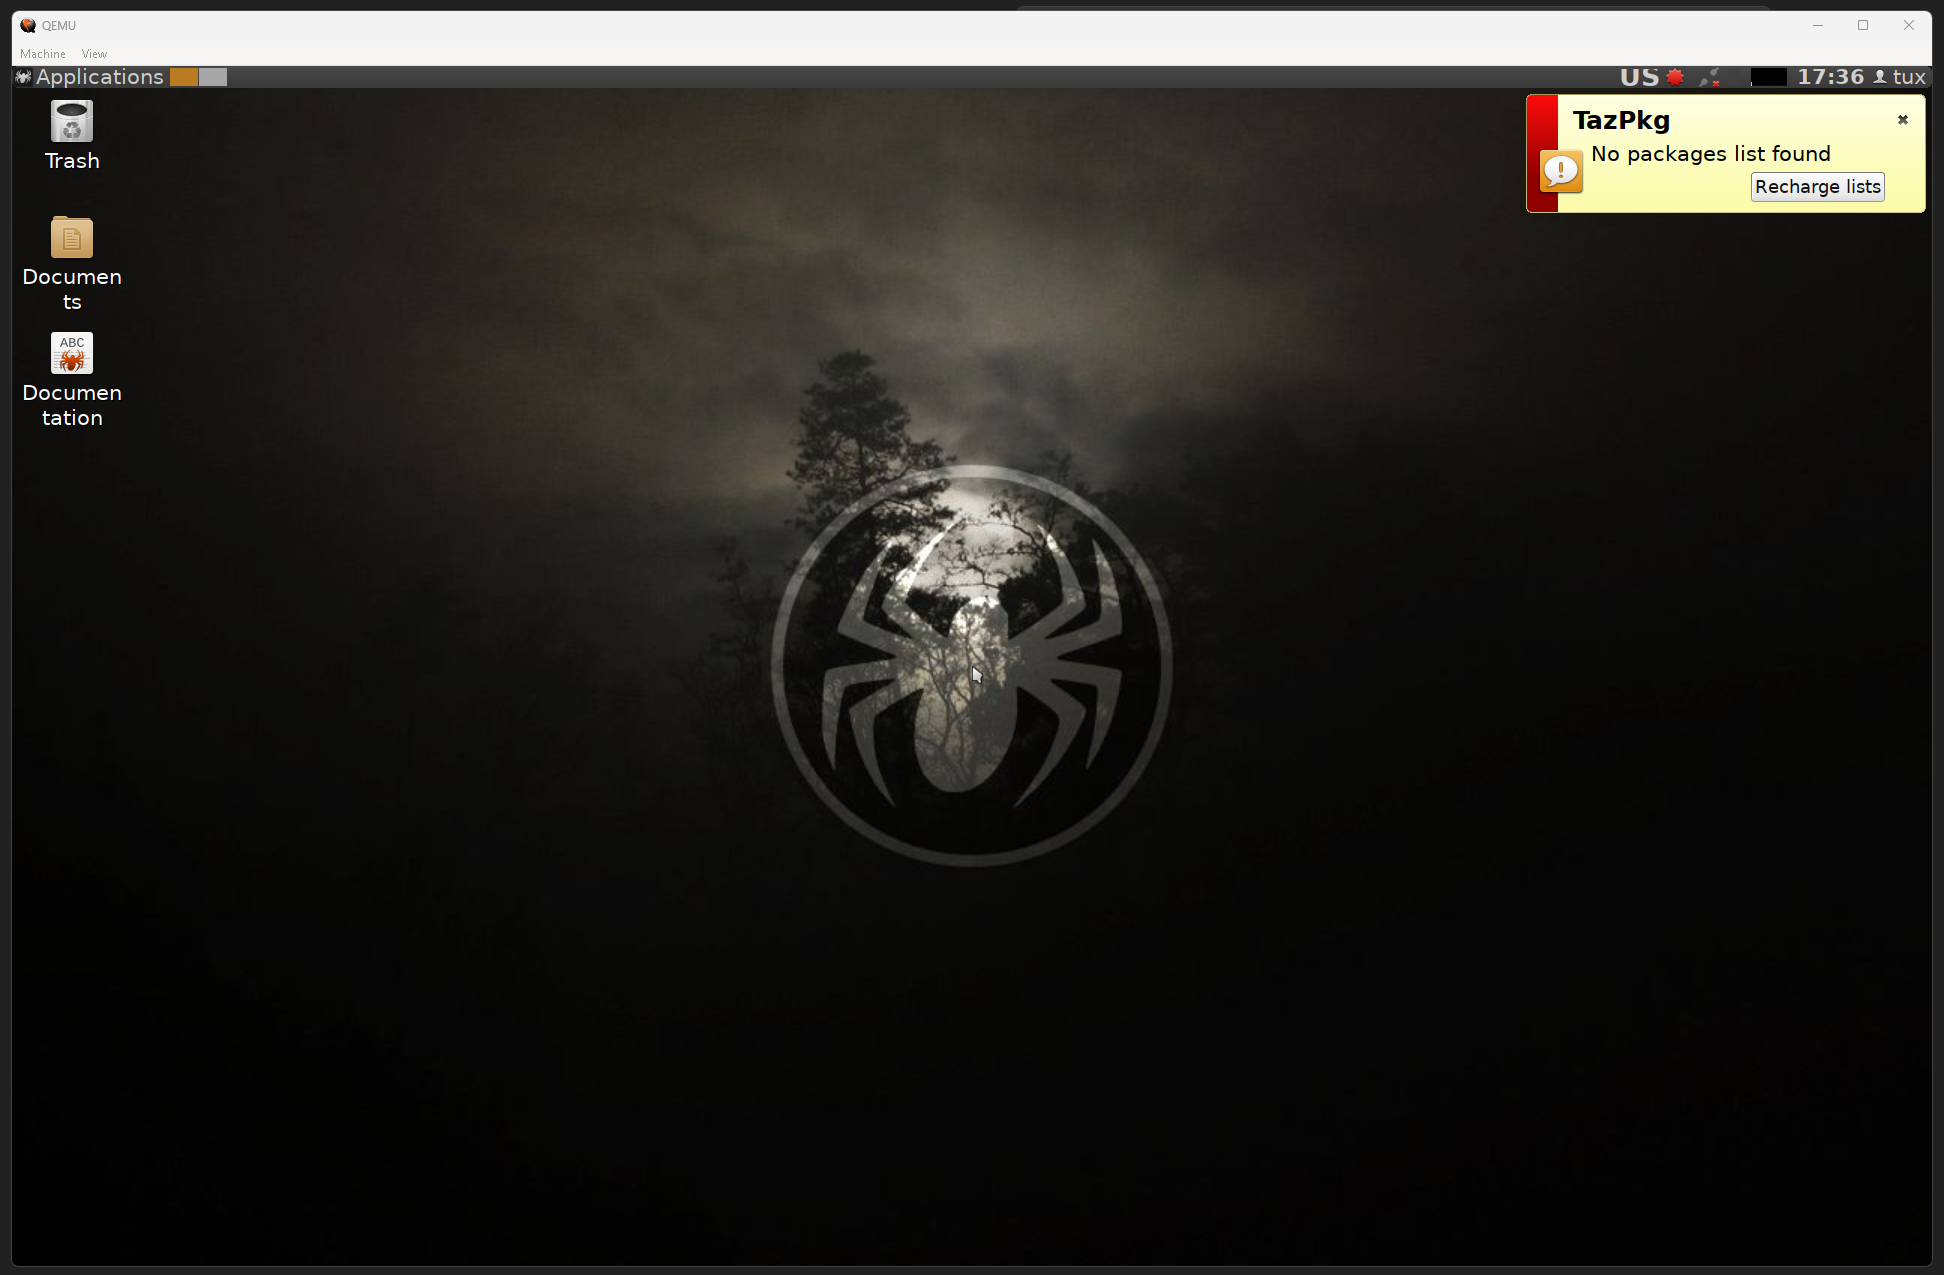 Some issues with mouse integration, let’s forget that for now. I can right-click in middle of GUI window and choose to launch application, and run xterm and then run tazpanel.
 Ran GParted and made the partitions — all as per normal installation (a few GB of swap, and a root partition).
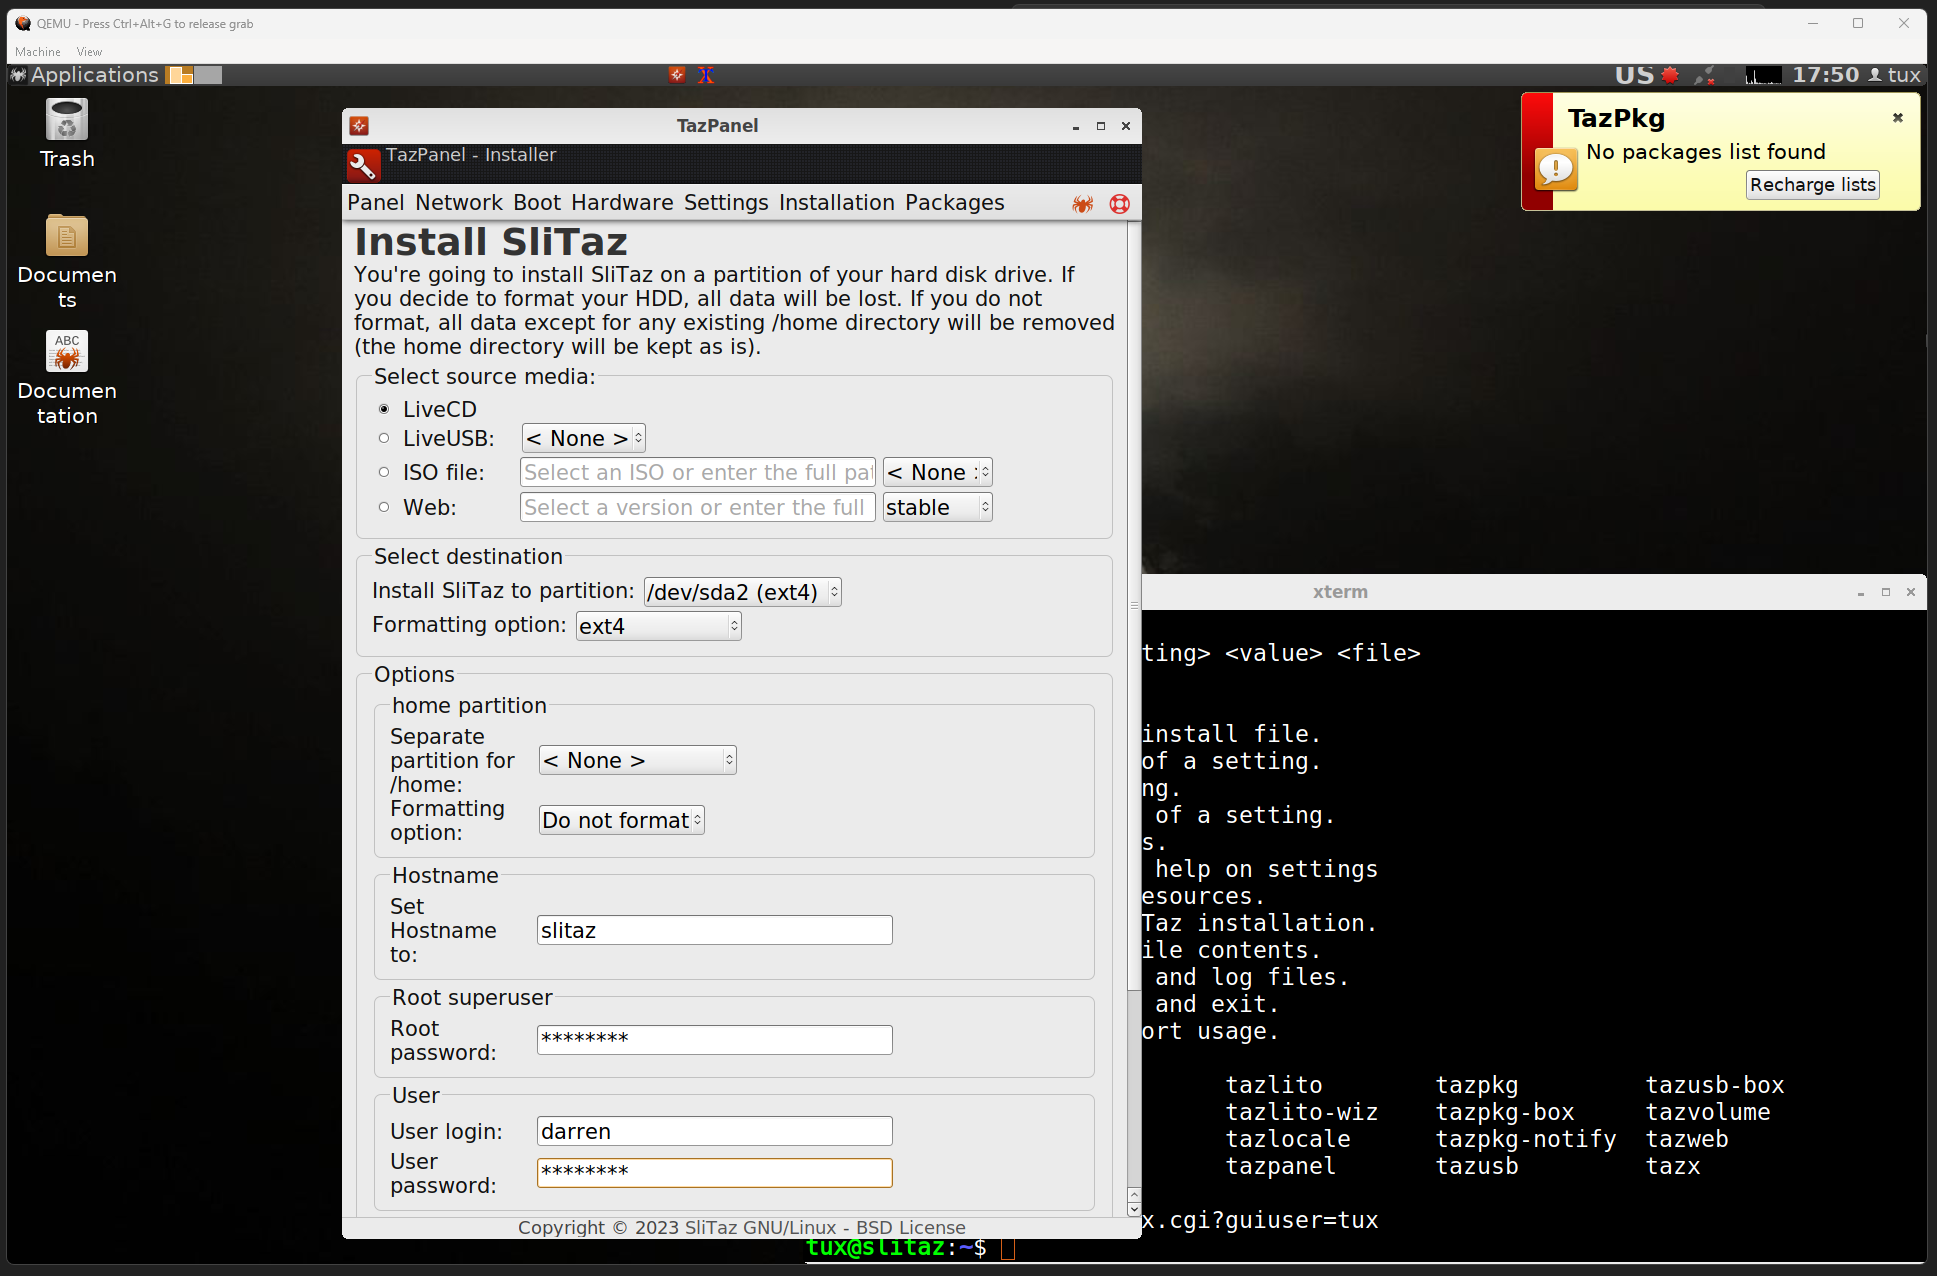 Note: SliTaz doe not like spaces in passwords. Make sure you install a bootloader — this will not be a shared disk, so that means I just chose the first option.