Chromebooks are good personal computers. They are also easy to share securely. You can add new users or create guest user access. This article explains how to manage users on a Chromebook.
We will look at:
- Owner account
- Adding new users
- Removing users
- Enabling “Guest” user access
Note: If you are looking for a way to add your own secondary email account to your Chromebook, you can do that without creating a separate users too. Read this article to learn more about this feature.
Owner Account
“Owner” on a Chromebook is the first user who logs into a new Chromebook. This is the administrator or admin account on Chrome OS, the operating system that runs on your Chromebook.
You will need to be the Owner user on a Chromebook to perform actions explained in this article.
Verify if you are the “Owner”
To verify if you are the “Owner” user on a Chromebook:
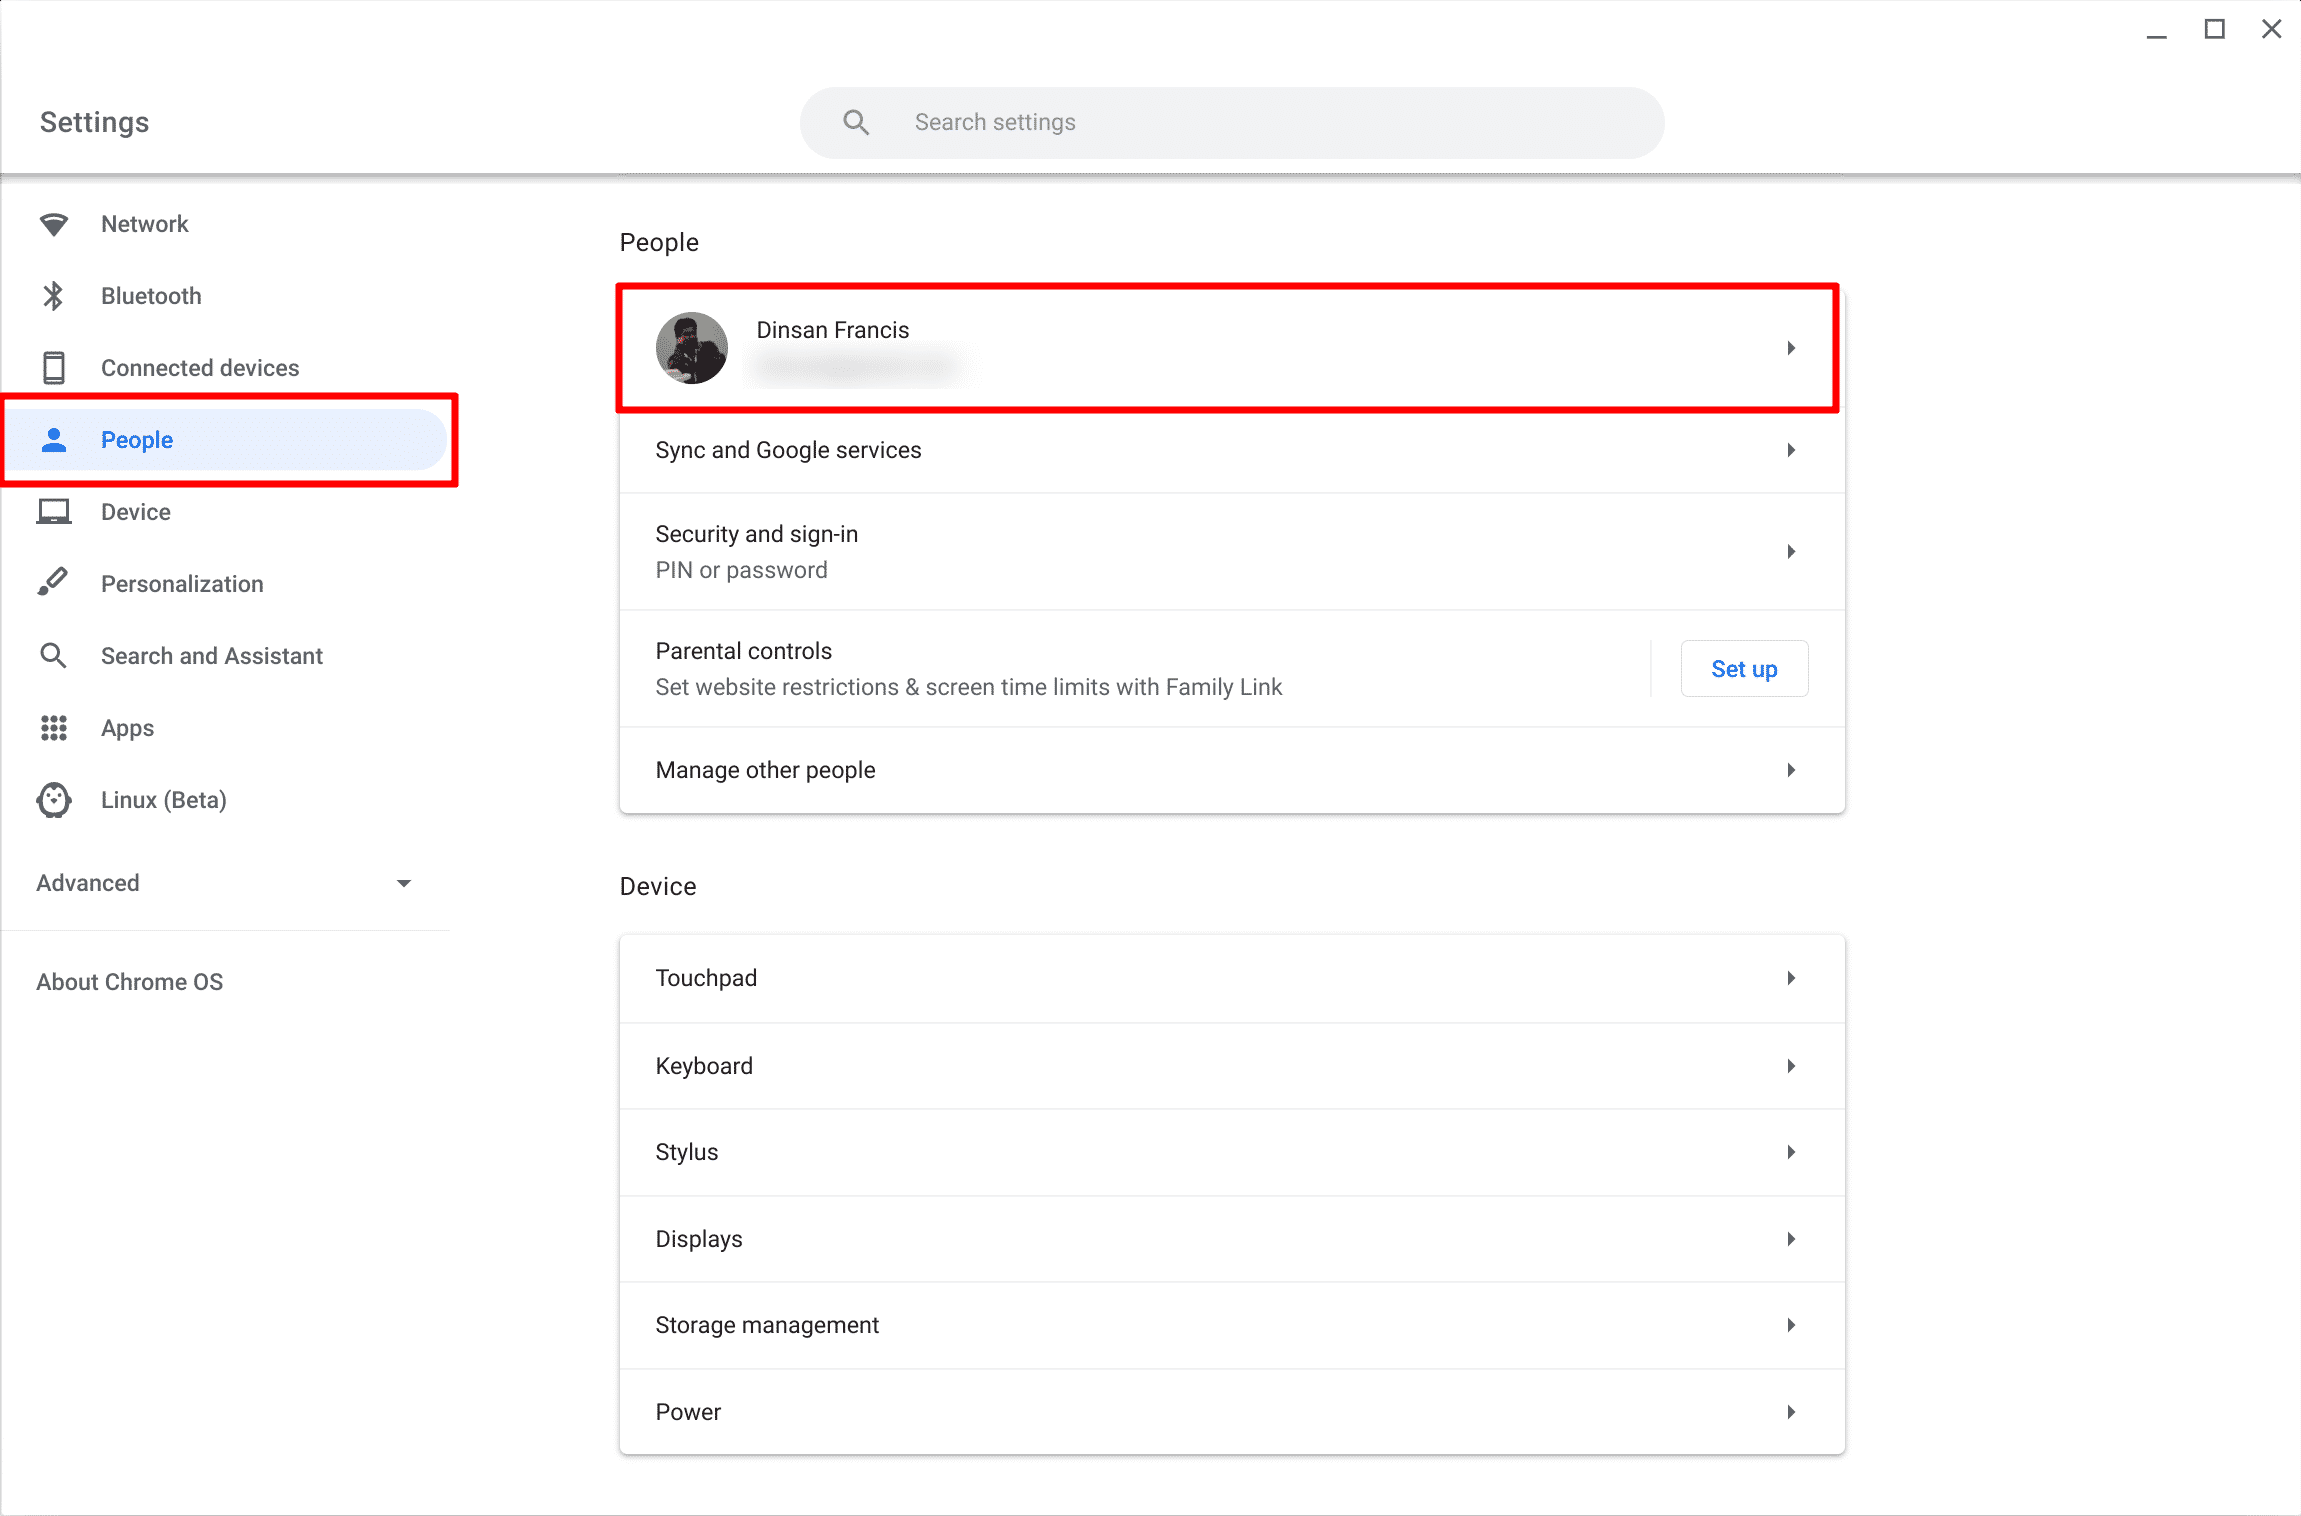
- Open the Settings app and click “People” from the left pane.
- Under “People“, click on your profile.
- Click “Manage other people“
- If you are not the owner of the Chromebook, you will see “These settings may only be modified by the owner“

If you are the owner user on your Chromebook, read on. If you are not, here is how to change the owner.
Add New Users
There are two ways to add new users to your Chromebook. You can either:
- Allow new users to log in from the Sign In page and create their accounts. Or,
- You can restrict that feature and add new users manually using their email addresses.
Add New Users from Sign In Screen
In this method, you will let the new user sign in using their Google account and create their own accounts. The owner need not do anything specific to get these accounts set up. However, you will need to enable this feature.
To allow new users to create accounts from the Sign In screen:
- Open the Settings app and click “People” from the left pane.
- Under “People“, click on your profile.
- Click “Manage other people“
- Ensure that Restrict sign-in to the following users is disabled.

Manually Add New Users
You can limit new users by disabling the option to log in and create new accounts from the Sign In screen. When you do that, you get an option to manually add new users from the Settings app.
To manually add new users to a Chromebook:
- Open the Settings app and click “People” from the left pane.
- Under “People“, click on your profile.
- Click “Manage other people“
- Click Add User.

- On the Add user popup screen, enter the Google account (Gmail address) of the new user.
- Click Add. The new account is added.


Sign out from the Owner account and you should see the new user on the Sign In screen.
Remove account from Chromebook
Now that we know two different ways to add new users, let us take a look at how to delete users.
To remove a user from your Chromebook:
- Open the Settings app and click “People” from the left pane.
- Under “People“, click on your profile.
- Click “Manage other people“
- Click the “x” next to the user that you want to remove.
- This removes the user account.

Remove Google Account from Chromebook
There are two places where you might have Google accounts on a Chromebook.
- Added as a Chromebook user
- Added as an additional account
Added as a Chromebook User
Follow the steps given in the “Remove Users from a Chromebook” section of this article.
If you have Google accounts added as Chromebook users, this will remove them.
Added as additional Google accounts
Chromebook users can add more than one Google account within a Chromebook account.
For example, you can log into Chromebook using firstaccount@gmail.com. You could then add secondaccount@gmail.com to use with apps and log into websites.
If you have such accounts, you can remove them too:
- Open the Settings app.
- Go to People and then click on your profile.
- On the My accounts page, you will see additional Google accounts. Click the three-dots icon next to the account to remove it.
Enable Guest Mode
Google Chromebook’s Guest Mode Explained.Chrome OS has a guest mode to help you share your Chromebook easily without sharing your personal information; your bookmarks, saved passwords, extensions, apps, search history and more.
For the guest user, they get to use your Chromebook without worrying about leaving any trace of their browsing session on your Chromebook.
To enable Guest Mode on a Chromeboko:
- Open the Settings app and click “People” from the left pane.
- Under “People“, click on your profile.
- Click “Manage other people“
- Click “Enable Guest browsing”.

This enables Guest Mode on the Chromebook.
Logging Into Guest Mode
To start a guest browsing session, select Browse as Guest from the launcher. When you’re browsing as a guest, you can browse the web and download files as usual, though you won’t be able to install apps unless you sign in to the Chromebook with a Google Account.
Missing Things
You will not get some stuff on the guest mode Here is a list:
- Extensions: Extensions installed by the Chromebook owner won’t be available
- Apps will not be available other than the basic apps (Files app is available.)
- You cannot change the default wallpaper
To end a guest browsing session, select Exit guest (or use the keyboard shortcut Ctrl+Shift+Q) to end your guest session. Your browsing data won’t be saved, but keep in mind that some websites may still have records of your visit.
Leave a Reply