How-To Use Picnik To Edit Picasa Photos Online
 In a previous groovy post, we announced the news that Google Added Picnik to its popular free Photo Sharing/Web Gallery site Picasa Web Albums. In this short groovy How-To, we will guide you through the entire process of how you can use the new integration to edit your photos online using the Picnik service.
Step 1 – Opening Picasa 3
Although you can upload and begin editing your photos directly from your browser using the Picasa Web Albums site, I keep all my photos organized on my system using the Windows Picasa client from Google. The client is great, and you can sync your photos up to Picasa Web Albums quickly, which makes it perfect for managing home photos and displaying them on the Internet (securely of course.) So, back to our How-To Tutorial. Let’s first open Picasa and look for the photos we want to edit using the new Picnik integration!
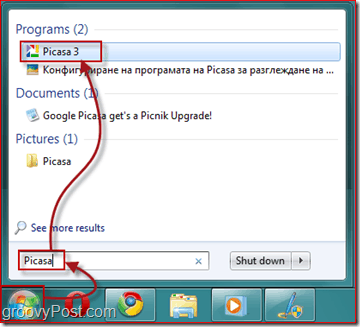
Go to the Start menu and Type Picasa. Find the icon for Picasa 3 and Click it to open.
Note: If you’re not on Vista or Windows 7, simply find Picasa in All Programs from the Start menu.
Step 2 – Signing Into Your Google Account
Now that you’ve got Picasa open, you need to sign in to your Google Account to connect your client to your free Picasa Web Albums.
Click Sign In To Web Albums in the upper right corner of the window. This action opens up another window where you will need to enter your Gmail Username and Password. Once you’ve done so, click Sign In.

Step 3 – Uploading The Photos You Wish To Edit
Select the Photo(s) you want to upload and Click the small Sync to Web icon in the upper right of the app. Fill out the dialog, and your photos will now automatically sync whenever there are new additions.

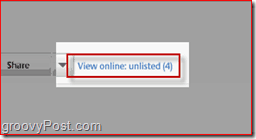
Afterward, Click the small button that says View Online button. This action will take you to your Picasa Web Albums account and photos you just SYNC’d using the Picasa Windows/MAC client.
Step 4 – Editing A Photo
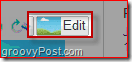
After going online, you see displayed the photos you’ve uploaded. Click the photo you want to edit then Click the small Edit button in the top right of the picture.
A pop-up window will appear. From there you have two tabs – Edit and Create. Use the “Edit” tab to make changes to the photo such as cropping, resizing, auto-fixing and exposure, removing red-eye, etc.
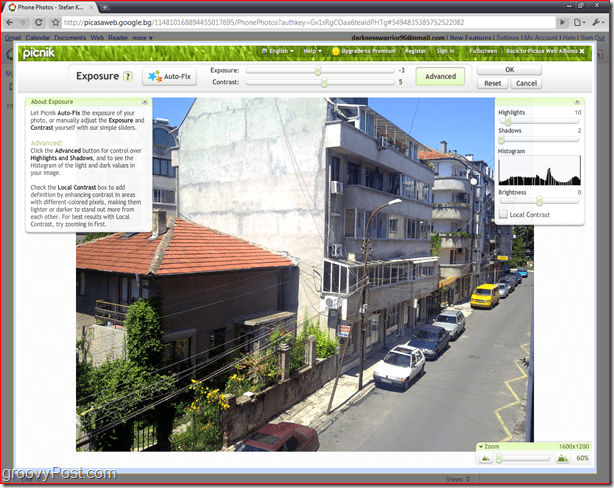
Use the Create tab to add stickers, effects, text and frames.
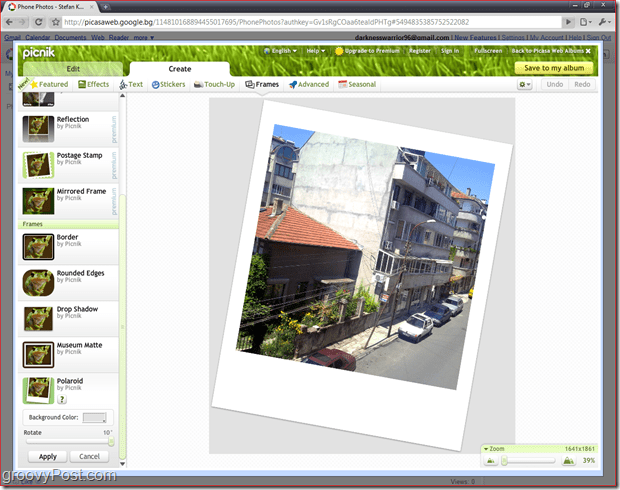
When you’re happy with the changes you’ve made, just click Save To My Album and choose whether you want to replace the original or save a new copy.

Once you get inside the Picnik editor be prepared to waste um I mean… for hours to just fly! Playing around with it and touching up all your photos is SIMPLE and FUN! I had a great time playing around as I wrote this tutorial!


Wood Photo Frames
October 1, 2010 at 5:32 am
Excellent blog! Thank you!
Nikhil Kiyal
December 26, 2011 at 8:18 am
how can i add picasa software to my project website so that my users can edit and save their images online on my website….