
Introduction to Office 365 PowerShell
Office 365 PowerShell is used to perform Office 365 admin center tasks from the command line. Generally, we manage our Office 365 accounts and licenses in Office 365 Admin center. In Office 365 Powershell, it is feasible to manage our Office 365 server products such as Exchange, Skype for Business Online and SharePoint Online. In Office 365 PowerShell, it is easy to manage your Office 365 admin center settings from the command line.
Office 365 Powershell Connectivity
Office 365 Powershell connectivity has three simple steps.
- Install required software
- Run required software
- Connect with Office 365 organisation
Supporting Windows versions for Office 365 PowerShell connectivity

Windows 64-bit version is only applicable for Office 365 PowerShell connectivity. Supporting Windows 64-bit versions are listed below
- Windows 10, Windows 8.1, Windows 8 or Windows 7 Service Pack 1 (SP1)
- Windows Server 2012 R2, Windows Server 2012, or Windows Server 2008 R2 SP1
Office 365 PowerShell installation in Windows 10
Let us see the Office 365 PowerShell installation steps in Windows 10.
- Install required software
- Install 64-bit version of the Microsoft Online Services Sign-in Assistant using below link https://www.microsoft.com/en-us/download/details.aspx?id=41950
- Install 64-bit version of the Windows Azure Active Directory Module for Windows PowerShell
- Open Azure Active Directory Connection web page using below link
http://connect.microsoft.com/site1164/Downloads/DownloadDetails.aspx?DownloadID=59185 - In Files in Download at the bottom of the page, click Download for the AdministrationConfig-V1.1.166.0-GA.msi file, and then install it
- Run required software
- In Desktop screen, Windows Azure Active Directory Module for Windows PowerShell is Ready to use
- Just click it and open Powershell module
- Connect with our office 365 organisation
Microsoft Online Services Sign-In Assistant for IT Professionals RTW
The Microsoft Online Services Sign-In Assistant provides end user sign-in capabilities to Microsoft Online Services, such as Office 365.
Two types of connectivity are preferred to connect with Office 365
- Connect with Username and Password
- Connect with Multi-factor authentication
- Connect with Username and Password
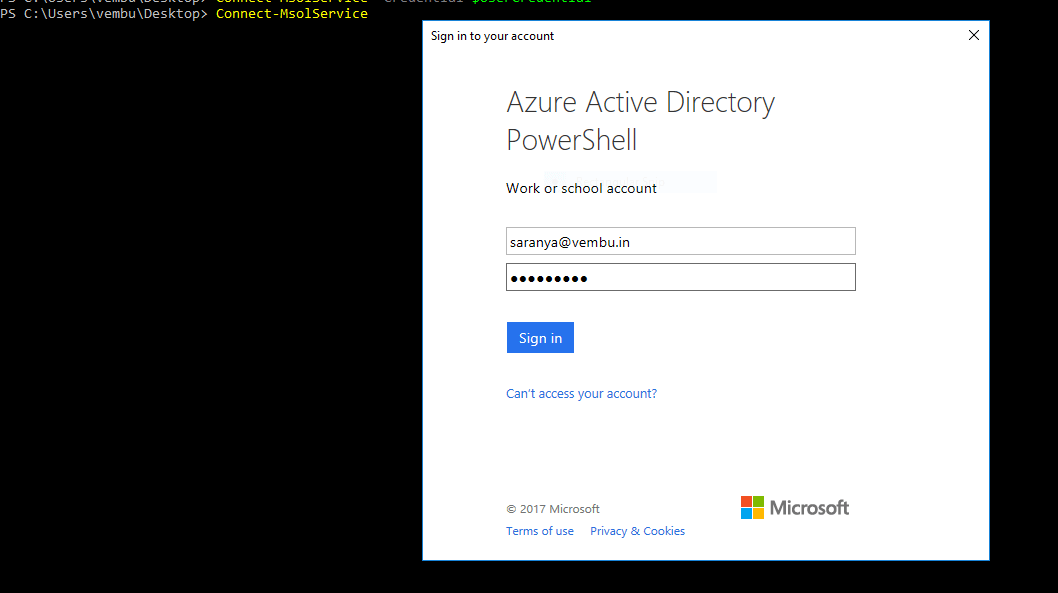
- If wish to connect with username and password, run this PowerShell command
- Enter your Office 365 work or school account username and password and click OK
- Once credential is verified successfully, then run MsolService PowerShell command to connect Azure Active Directory
- Connect with Multi-factor authentication
- Multi-factor authentication increases the security of user logins for cloud services
- Open Powershell and run this command
- Enter Office 365 Credential to Sign in Azure Active Directory Powershell
- If does not receive any error, then Powershell is successfully connected

MsolService- This cmdlet attempts to initiate a connection to Azure Active Directory

Domain Status
- To view the configuration information for the accepted domains in your organization run this command

Set-ExecutionPolicy

Connect to Exchange with Online
To connect Exchange with online, import exchange online module. Run below command in PowerShell module.
-Authentication Basic -AllowRedirection
- Then, URI connection redirecting warning message is displayed
- To import Exchange PowerShell session, run this PowerShell command
- To view Exchange status, run this PowerShell command
URI-Uniform Resource Identifier (URI) is a string of characters used to identify a resource.


Connect to Skype for Business Online
Skype for Business online connectivity is different from Office 365 because Skype for Business online command is not installed by default. When you sign in, cmdlet is temporarily copied to our computer. When you sign off, those cmdlets are then removed from your computer.
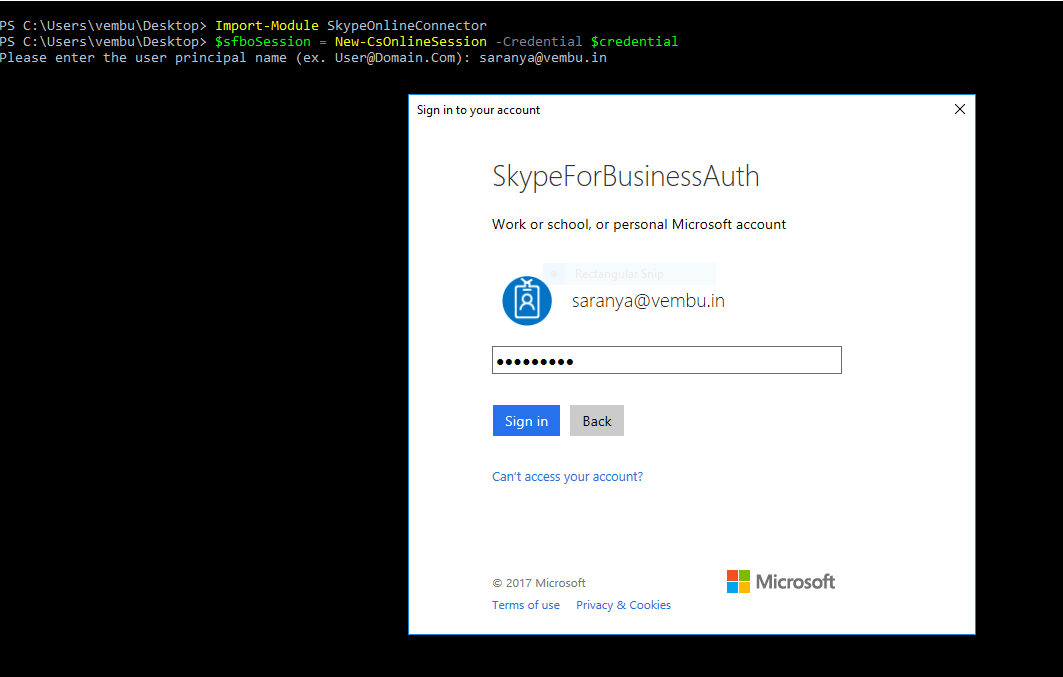
To connect Skype for Business Online, Import Skype for Business Online module.
$sfbo Session = New-CsOnlineSession -Credential $credential
- Enter User Credential to access Skype for Business online
- To view, Skype Online Connector details run below PowerShell command

Conclusion
Office 365 using Powershell is simple to install with less time utilization.
Follow our Twitter and Facebook feeds for new releases, updates, insightful posts and more.

Its great way you Describe and step by step!